Quick Start - Syncthing First Steps
In order to start syncing you will need to install Syncthing on your computer.
@ your device
-- add folder --
Download Syncthing from the official Syncthing website.
Install Syncthing on your computer. Follow the official guide at https://docs.syncthing.net/intro/getting-started.html
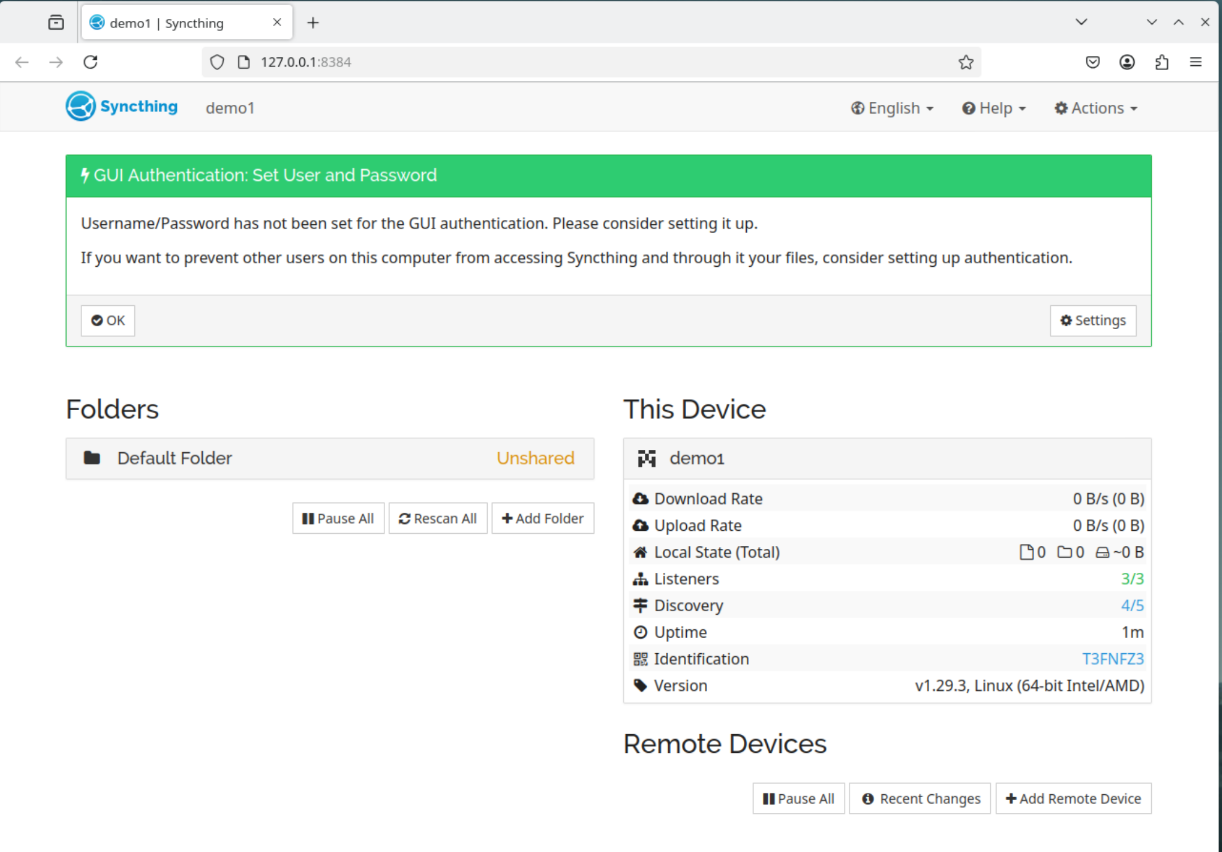
Setup username / password (recommended) or click "ok".
Add a new folder

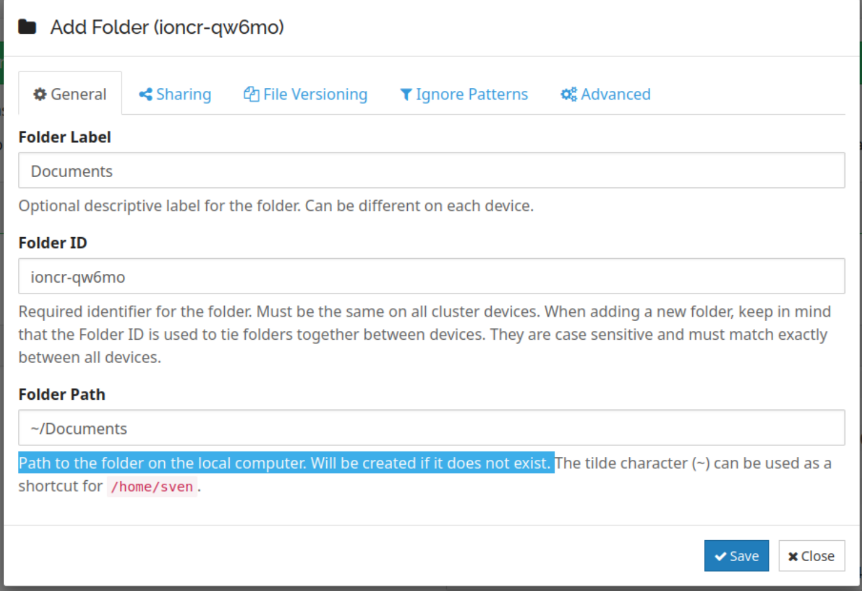
In this example we share the existing folder ~/Documents. Depending on your OS the name is case sensitive.
-- copy device id --
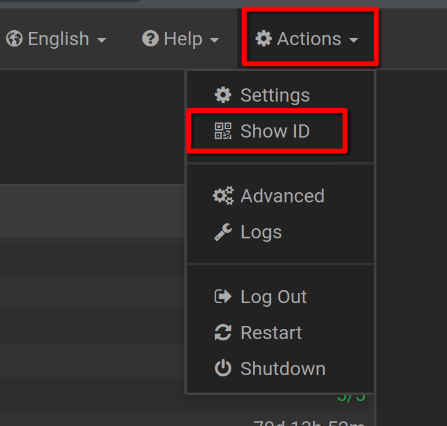
Click on the "Actions" => "Show ID"
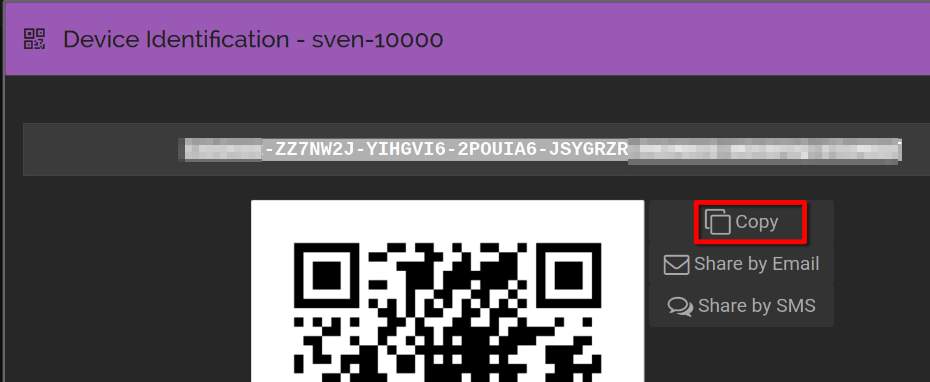
Copy the device ID
@ syncding.com
-- add device --
Go to your syncdin.com instance (ie. https://[instance-id] .syncding.com)
Click on "Remote Devices" => "Add Remote Device"
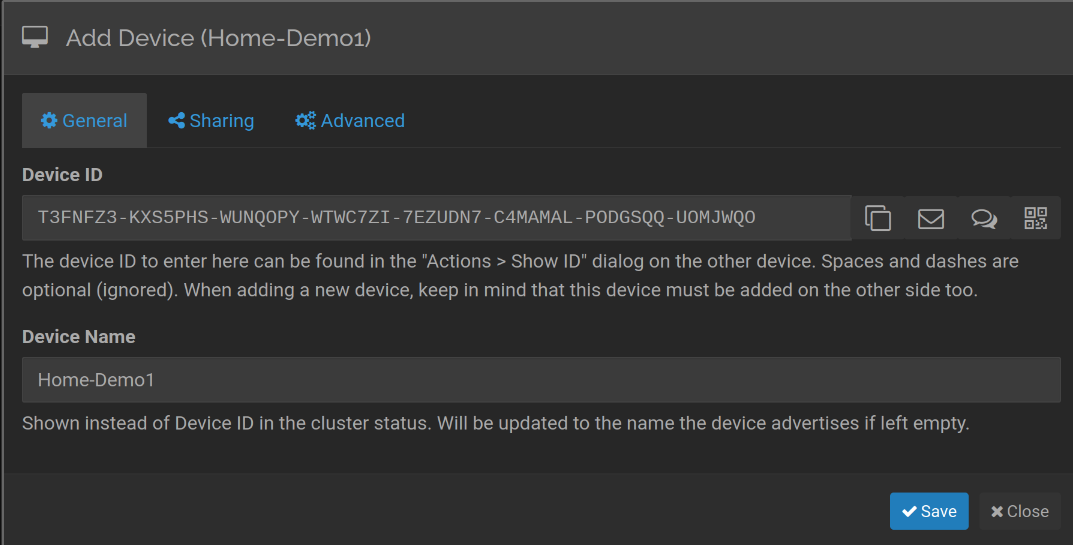
Optional: assign a custom device name to better describe the device
@ your device
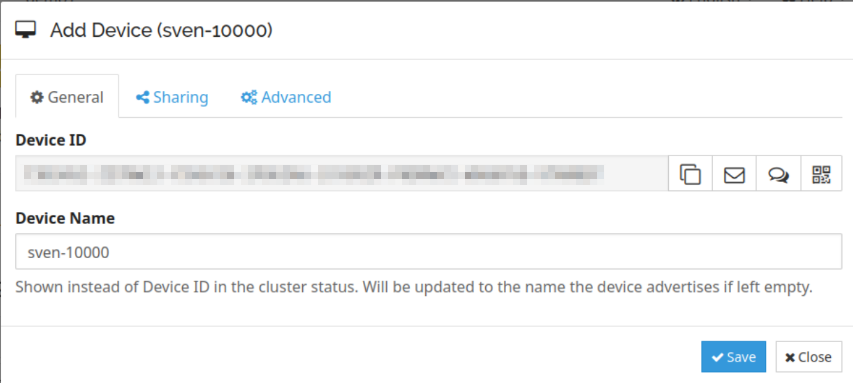
-- add device --
Ackknowledge the remote device

-- share folder --
Select the folder you want to share and click on "Edit" => "Sharing"
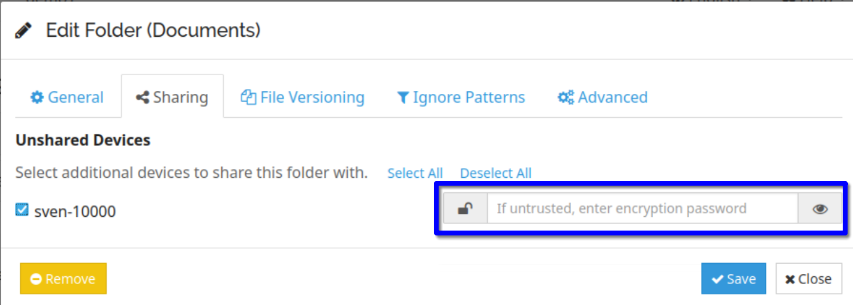
### Attention: Syncding.com recommends to use the Encryption. But be careful. Read up on the documentation on how to use encryption. When used it affects the use of snapshots and the filebrowser.
@ syncding.com
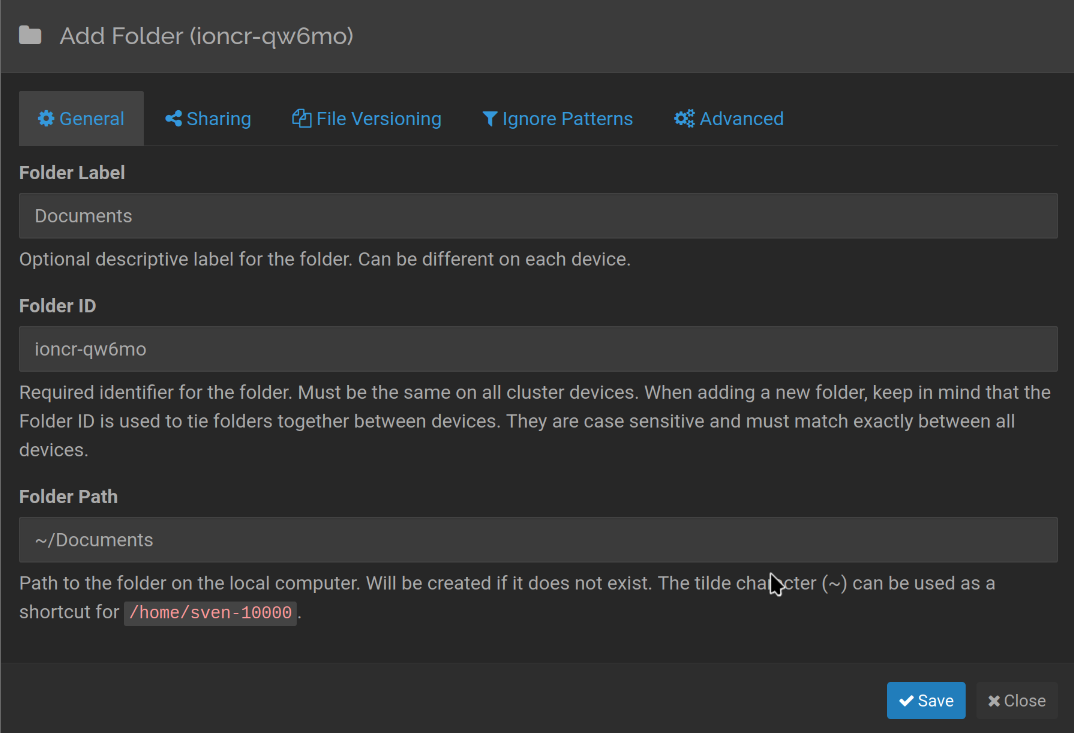
-- ackknowledge the new folder --
Click on "Add"

Click on "Save"
-- Auto accept --
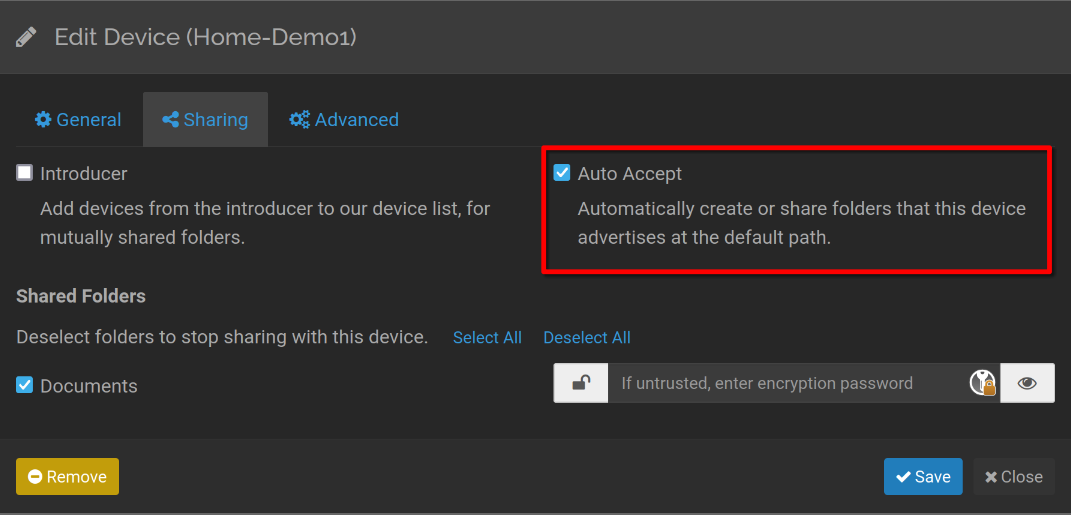
For security reasons we don't recommend to use the Introducer feature.
Happy Syncing!